Easy Aioli Recipe at Home
Highlighted under: Easy Bites Co.
I always thought making aioli at home was a complicated task reserved for gourmet chefs. However, after several attempts, I've perfected a simple method that captures the rich and creamy essence of traditional aioli. With just a few basic ingredients, I can whip up this delightful garlic sauce in no time. It's impressive enough to serve at dinner parties yet simple enough for a weeknight dinner. The process is genuinely satisfying, and once you try your homemade aioli, store-bought versions will never compare.
When I first set out to create my own aioli, I was skeptical about how it would turn out. I started with classic ingredients: fresh garlic, egg yolk, and olive oil. The key here is to slowly drizzle the oil while whisking vigorously—this emulsifying technique creates that signature creaminess. I also discovered that using a mix of regular and light olive oil gives a balanced flavor without overwhelming garlic notes.
One of my best tips is to let the aioli sit in the fridge for a few hours before serving. This resting time allows the flavors to meld beautifully, enhancing the garlic's intensity. I've served this aioli with everything from crispy fries to grilled vegetables, and it never fails to impress. Trust me: once you make this easy aioli, you'll be making it on repeat!
Why You'll Love This Easy Aioli
- Creamy texture that's perfect for dipping and spreading
- Customizable with herbs or spices to suit your taste
- A simple recipe that takes less than 10 minutes
Understanding Emulsification
The key to achieving a perfect aioli lies in the process of emulsification. This technique involves mixing two ingredients that typically don't blend well—like oil and water-based substances. In our recipe, the egg yolk acts as an emulsifier, allowing the olive oil to combine smoothly. Start by adding the oil drop by drop; this initial step is crucial as it forms a stable base for the aioli. If the mixture separates or looks soupy, whisk vigorously and return to the slow addition of oil.
As you progress, the consistency of the aioli will change from runny to creamy. If at any point it doesn't thicken as expected, make sure your eggs were at room temperature and consider adjusting your whisking technique—faster and more consistent whisking can help achieve that coveted glossy finish. I've found that using a bowl with a non-slip bottom or a damp towel under the bowl can make the whisking process easier, allowing you to focus on emulsifying.
Ingredient Swap and Storage Tips
While the classic aioli features garlic and lemon juice, you can customize it to suit your palate. For a smoky twist, try adding a pinch of smoked paprika or a splash of chipotle sauce. If you prefer a lighter flavor, substitute half of the olive oil with a neutral oil like grapeseed or sunflower oil. Just keep in mind that using different oils will alter the final taste and consistency, so it's best to experiment gradually to find your favorite blend.
Storing your homemade aioli can also be a breeze. Place it in an airtight container in the refrigerator, where it can last for up to one week. If you notice it begins to separate after being stored, simply whisk it again before serving. Freezing is an option, but the texture may change upon thawing; consider divvying up portions in ice cube trays for easy defrosting when needed.
Ingredients
Gather these fresh ingredients to start your aioli.
Ingredients
- 1 large egg yolk
- 1 cup olive oil (mixed regular and light)
- 2-3 cloves garlic, minced
- 1 tablespoon lemon juice
- Salt to taste
Enjoy your homemade aioli with your favorite dishes!
Instructions
Here's a simple step-by-step guide to making your aioli.
Prepare the Ingredients
In a bowl, combine the egg yolk, minced garlic, and a pinch of salt. Whisk until mixed well.
Emulsify the Mixture
While whisking continuously, start adding the olive oil slowly, drop by drop at first. This helps to form a stable emulsion.
Incorporate Lemon Juice
Once the mixture starts to thicken, you can add the oil in a steady stream while continuing to whisk. After all the oil is incorporated, add the lemon juice.
Adjust Seasoning
Taste your aioli and add more salt or lemon juice according to your preference.
Chill and Serve
Refrigerate the aioli for at least 30 minutes to enhance the flavors before serving.
Serve your delicious aioli with a variety of dishes!
Pro Tips
- Try adding fresh herbs like parsley or basil for a twist on the classic flavor. If you want a spicier kick, consider adding a pinch of cayenne pepper during the mixing process.
Serving Suggestions
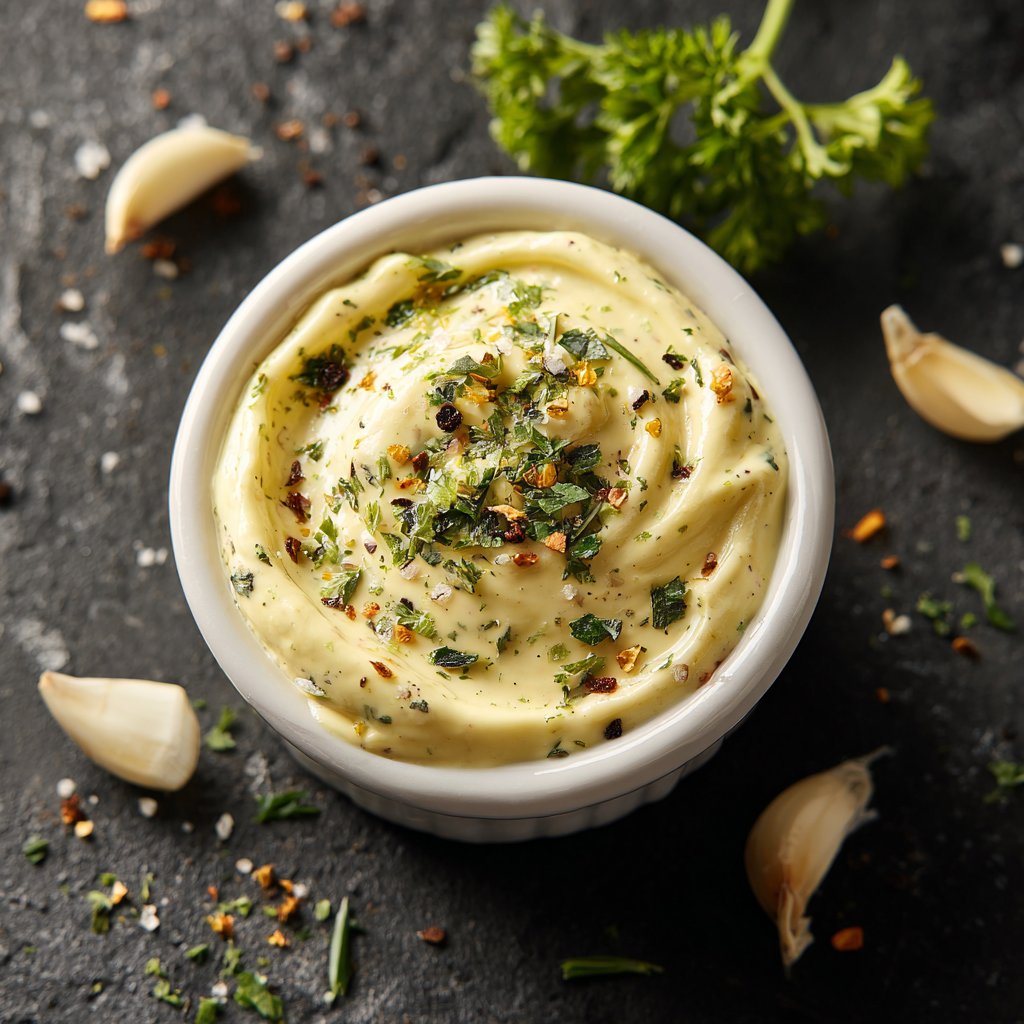
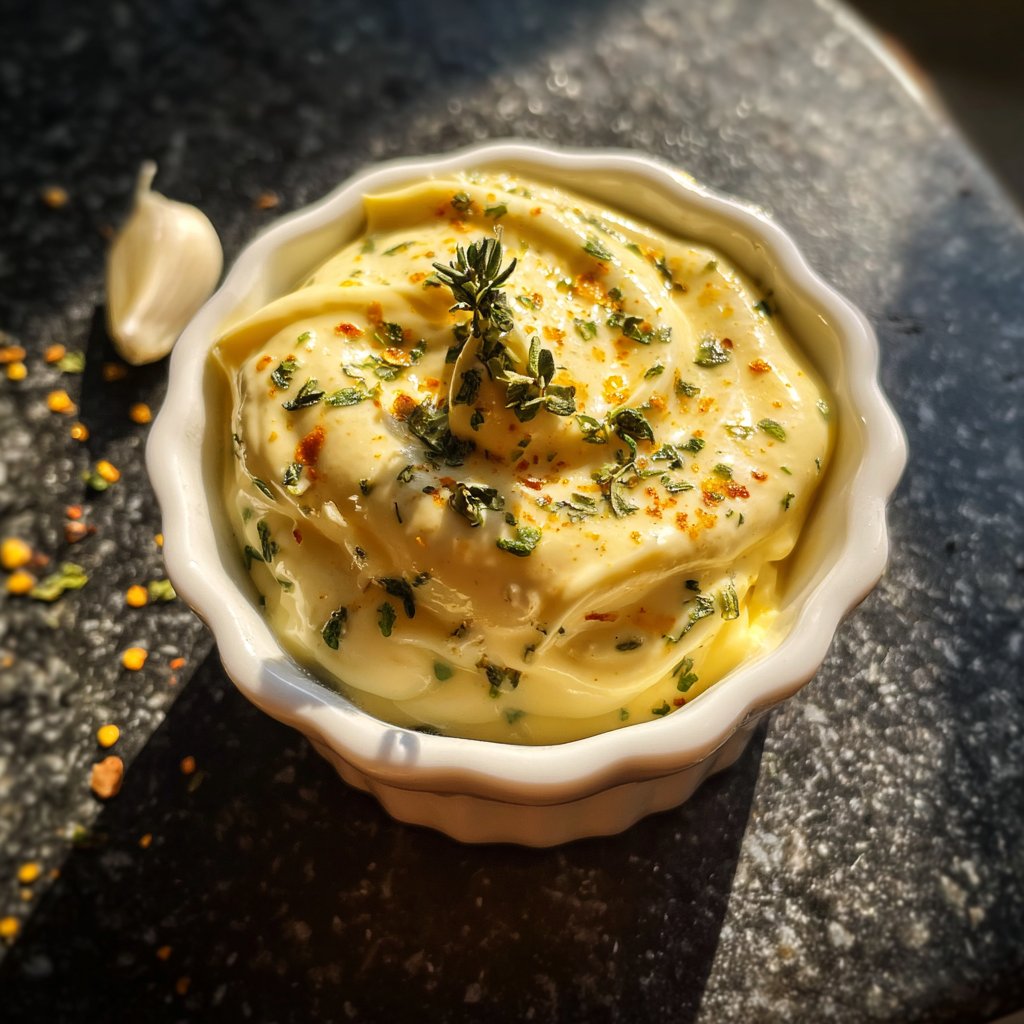
Aioli can elevate many dishes, making it a versatile condiment worthy of your cooking repertoire. It pairs wonderfully with fresh vegetables for an inviting appetizer or as a zesty dipping sauce for crispy fries or fried calamari. Drizzling it over grilled meats or roasted vegetables adds a rich layer of flavor that complements the dish beautifully. You can even spread it on sandwiches or wraps for a gourmet touch that brings a simple meal to life.
For an impressive presentation at dinner parties, consider serving aioli in a small bowl surrounded by an array of colorful veggies and artisanal bread. Add a few sprigs of fresh herbs on top for a pop of color and aroma. This not only makes for a visually appealing dish but also showcases the aioli's creamy texture, inviting guests to dive in.
Troubleshooting Common Issues
If your aioli doesn't thicken, the first step is to check your technique. Make sure you're incorporating the oil slowly at the beginning. If it remains too liquid, you can try adding another egg yolk while whisking. This should help bring it together. Alternatively, using an immersion blender can rescue a broken aioli; just blend the mixture with additional oil until it emulsifies properly.
Another common issue is the flavor. If your aioli is too strong in garlic or lemon, balancing it out is simple—whisk in a little more olive oil or a dollop of mayonnaise to tone down the intensity. Conversely, if it's lacking in flavor, a pinching salt or a squeeze more lemon can elevate it nicely. I always recommend tasting along the way to gauge your preferred garlic and lemon balance.
Questions About Recipes
→ Can I use a blender instead of whisking by hand?
Yes, you can use a blender for easier emulsification, but be sure to add the oil very slowly at first.
→ Can I make aioli ahead of time?
Absolutely! Aioli can be made ahead and stored in the refrigerator for up to one week.
→ What can I serve aioli with?
Aioli is fantastic with fries, grilled meats, seafood, or as a spread for sandwiches.
→ Is there a vegan option for aioli?
Yes! You can replace the egg yolk with an aquafaba (the liquid from canned chickpeas) to create a vegan version.
Easy Aioli Recipe at Home
What You'll Need
Ingredients
- 1 large egg yolk
- 1 cup olive oil (mixed regular and light)
- 2-3 cloves garlic, minced
- 1 tablespoon lemon juice
- Salt to taste
How-To Steps
In a bowl, combine the egg yolk, minced garlic, and a pinch of salt. Whisk until mixed well.
While whisking continuously, start adding the olive oil slowly, drop by drop at first. This helps to form a stable emulsion.
Once the mixture starts to thicken, you can add the oil in a steady stream while continuing to whisk. After all the oil is incorporated, add the lemon juice.
Taste your aioli and add more salt or lemon juice according to your preference.
Refrigerate the aioli for at least 30 minutes to enhance the flavors before serving.
Extra Tips
- Try adding fresh herbs like parsley or basil for a twist on the classic flavor. If you want a spicier kick, consider adding a pinch of cayenne pepper during the mixing process.
Nutritional Breakdown (Per Serving)
- Calories: 280 kcal
- Total Fat: 31g
- Saturated Fat: 4g
- Cholesterol: 109mg
- Sodium: 63mg
- Total Carbohydrates: 1g
- Dietary Fiber: 0g
- Sugars: 0g
- Protein: 2g